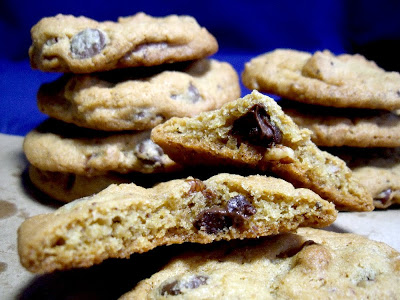
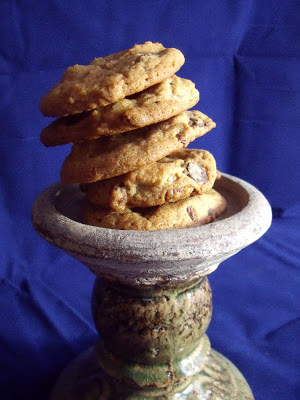
 Since I have my own favorite Toll House Chocolate Chip Cookie recipe, I decided to follow Dories Playing Around suggestion by substituting 1/2 cup creamy peanut butter for 1/2 cup butter. I also added 1 1/2 Tablespoons instant espresso just to see how the flavor would be enhanced.
They tasted good but we still prefer the flavor and texture of our old cookie recipe.
 Dorie says she has “made these cookie with just about every kind of chocolate known to mankind with universally satisfying results”. She prefers chopped up premium chocolate as do I, but chocolate chips were in the pantry.
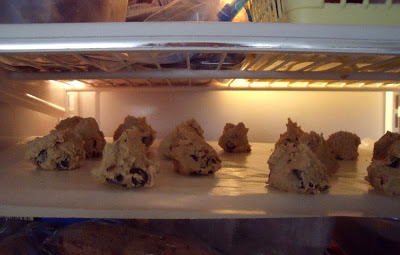
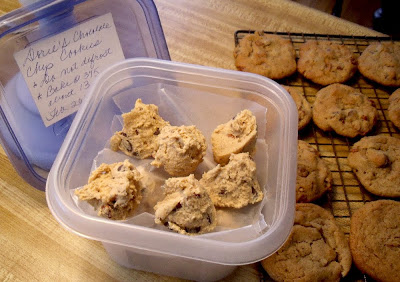
 I baked most of the dough and froze a few scoops to be enjoyed when a hankering arises for a cookie warm-from-the-oven.
 After dough freezes, pop into a freezer safe container, labeled and store your treasure. Dorie says there is no need to thaw before baking… just add a couple more minutes to baking time.
 ~*~
Best Chocolate Chip Cookies
Makes 45 cookies
1 teaspoon salt
3/4 teaspoon baking soda
2 sticks (8 ounces) unsalted butter, at room temperature
1 cup sugar
2/3 cup (packed) light brown sugar
2 teaspoons pure vanilla extract
2 large eggs
12 ounces bittersweet chocolate, chopped into chips, or 2 cups store-bought chocolate chips or chunks
1 cup finely chopped walnuts (optional) or pecans (optional)Directions:
Center a rack in the oven and preheat the oven to 375 degrees F. Line two baking sheets with parchment or silicone mats.
Whisk together the flour, salt, and baking soda.
Working with a stand mixer, preferably fitted with the paddle attachment, or with a hand mixer in a large bowl, beat the butter on medium speed for about 1 minute, until smooth. Add the sugars and beat for another 2 minutes or so, until well-blended. Beat in the vanilla. Add the eggs one at a time, beating for 1 minute after each egg goes in. Reduce the mixer speed to low and add the dry ingredients in 3 portions, mixing only until each addition is incorporated. On low speed, or by hand with a rubber spatula, mix in the chocolate and nuts. (The dough can be covered and refrigerated for up to 3 days or frozen. If you’d like, you can freeze rounded tablespoons of dough, ready for baking. Freeze the mounds on a lined baking sheet, then bag them when they’re solid. There’s no need to defrost the dough before baking – just add another minute or two to the baking time.)
Spoon the dough by slightly rounded tablespoonfuls onto the baking sheets, leaving about 2 inches between spoonfuls.
Bake the cookies – one sheet at a time and rotating the sheet at the midway point – for 10 to 12 minutes, or until they are brown at the edges and golden in the center; they may still be a little soft in the middle, and that’s just fine. Pull the sheet from the oven and allow the cookies to rest for 1 minute, then carefully, using a wide metal spatula, transfer them to racks to cool to room temperature.
Repeat with the remainder of the dough, cooling the baking sheets between batches.
The cooking can be kept in a cookie jar or sealed container for about four days, or wrapped airtight and frozen for up to two months.
Variations:
Cocoa Chocolate Chip Cookies: use 1 1/4 cups all-purpose flour and 3/4 cup unsweetened cocoa powder.
Espresso Chocolate Chip Cookies: add 1 1/2 tbsp instant espresso powder after you add the vanilla extract.
Peanut Butter Chocolate Chip Cookies: use 1 1/2 sticks (12 tbsp) of unsalted butter and a 1/2 cup peanut butter (you can use chunky or smooth, but it’s best not to use natural peanut butter, which will not give you the right texture). Beat them together before adding the sugars. Use salted peanuts instead of walnuts or pecans.
Coconut Chocolate Chip Cookies: Add 1 1/2 cups sweetened shredded coconut, toasted or not, to the dough when you add the chocolate chips and nuts. Why not go all the way and add some raisins or bits of dried apricots?

I liked the baked from frozen ones best, and will definitely have to try the peanut butter version. I didn't even see that when I made them.
I haven't made chocolate chip cookies in forever. Those look so good. Nothing beats fresh baked cookies right out of the oven