• Home
  • About
  • !!! SUBSCRIBE TO OUR NEWSLETTER – FREE GIFT !!!
  • Blog
  • Contact

Lorraine D. Hebler

  • Recipes
    • Appetizers
    • Beverages
    • Breads – Quick & Yeast
    • Breakfast & Brunch
    • Canning & Freezing
    • Entertaining
    • Holidays
    • Main Dishes
      • Beef
      • Chicken
      • Fish & Seafood
      • Pork
    • Pasta
    • Salads & Dressings
    • Soups & Stews
    • Sweet Treats
      • Biscotti
      • Cakes & Cupcakes
      • Cookies & Bars
      • Desserts
      • Muffins
      • Pies & Cobblers
      • Scones
    • Vegetables & Sides
    • Visit My Galleries
  • Crafts
    • Crochet
    • Knitting
    • More Crafts
    • Visit My Galleries
  • Faith
    • Faith Statement
    • Faith Printables
  • Home and Garden
    • Birds & Butterflies
    • Flowers Plants & Herbs
    • Home Decorating & DIY
  • Family
    • Family & Friends
    • Grandchildren
  • Resourses
    • Gift Guides
    • Photography Equipment
    • Food Styling Photo Props
    • Sock Hop Party Shopping Guide
  • Travel
  • Vintage

Waiting for baby

By Lorraine

 
Our daughter, Jamie is due the end of February. While waiting for baby,I was inspired by a crocheted baby blanket I saw on Pinterest to make for our new granddaughter soon to join her five siblings.
(Here is the LINK to the Etsy shop where you can purchase the pattern made by Sheila for the beautiful baby blanket that inspired my project.  Sheila’s blankets are much cuter!)
 
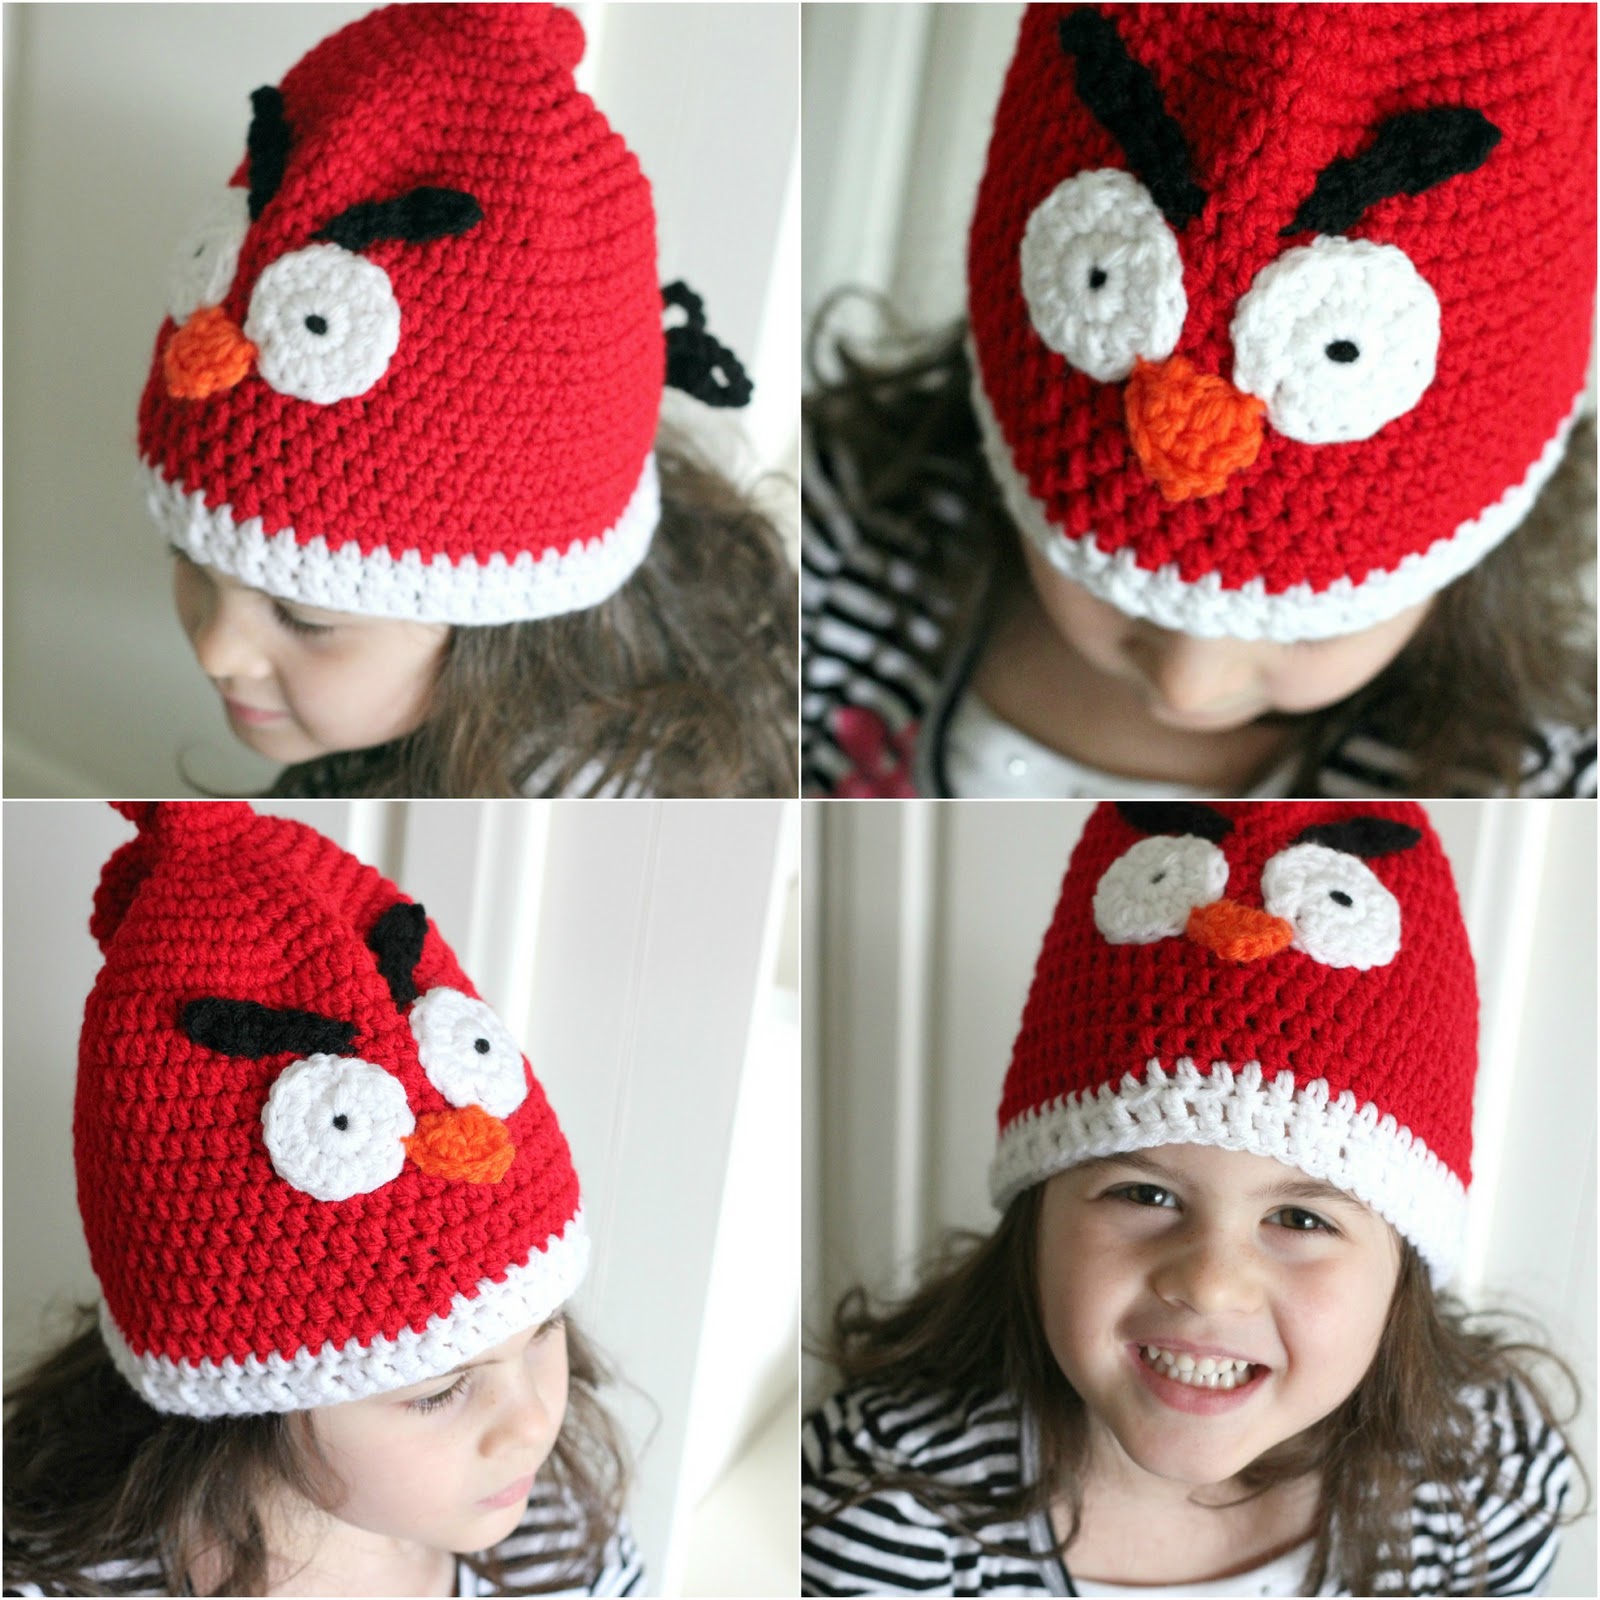
I added a teeny beanie and similar beanies for big sisters
Keri and Cambrie.
Hard to think of Cambrie as a big sister!
 
 
The tiny beanie pattern was found on a very sweet blog ~
The Dainty Daisy.
Betsy (and Laura) has a video tutorial for this sweet hat for those of you that need a little encouragement to begin a project.
 
 
For the blanket:

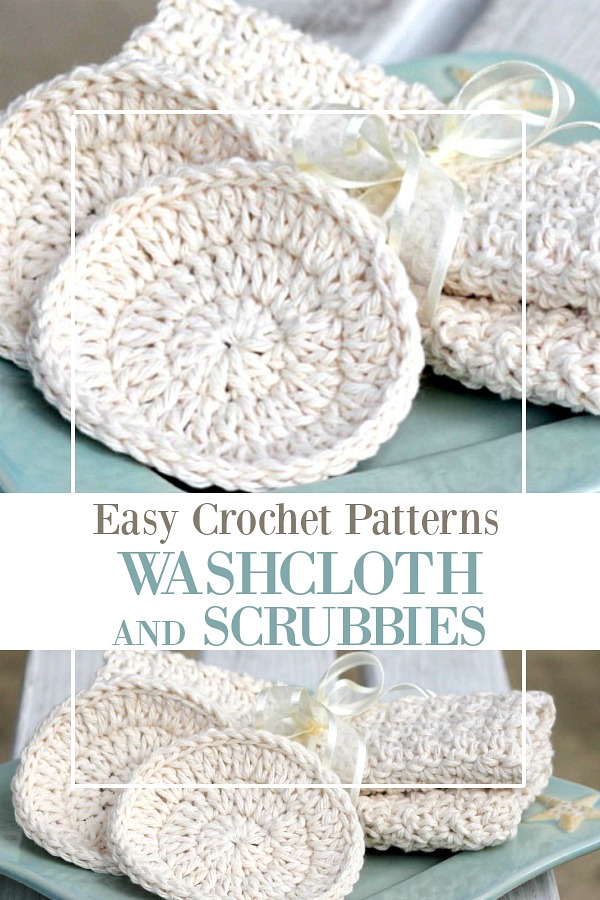
Remember the crocheted washcloths I made here?

Using the same pattern but working with three strands worsted weight yarn, N crochet hook, and doubling the beginning chain count, I made a baby blanket measuring about 28 x 32-inches.

 
This is a very thick blanket that would be super cushy to lay a baby on or use to throw over a car seat or stroller.  Too thick, in my opinion, for wrapping baby in.

The pattern
Worsted weight cotton yarn (I am not sure how much yarn I used.  I worked from three 1-lb. skeins and probably have enough left to make another blanket.
Crochet Hook size N or whatever size works best for you

Ch 56
Row 1
Hdc in the 2nd ch from hook, (sc in the next ch, dc in the next ch)
across, sc in the next ch, hdc in the last ch; ch 1, turn.

Row 2
Hdc in the first hdc, (dc in the next sc, sc in the next dc) 12 times, dc in the next sc, hdc in the last hdc; ch 1, turn.

Row 3
Hdc in the first hdc, (sc in the next dc, dc in the next sc) across, sc in the next dc, hdc in the last hdc; ch 1, turn.

Rows 4-to length desired
(Repeat rows 2 and 3) to desired length; do not ch 1 at the end of row.Last Row: Sl st in each st across. Fasten off.

Finishing:
I bought 1 yard of fabric for the backing and after washing and hand stitching to the back I had just enough left over to make two small burp cloths.
 
 
While visiting with Jamie, I peeked into her bedroom and this is what I saw.


It is the same cradle I put her in when we brought her and her twin sister home from the hospital.
It has been used by many babies since then.
 
 
♥


There are affiliate links in this post. That means if you
buy something from that link, I will earn a small commission, but it won’t cost
you anything additional.

Filed Under: Crafts, Crochet Tagged With: Crafts, Crochet, Grandchildren, Jamie, Jill

Crochet Heart Bobby Pins

By Lorraine

Quick and easy little crochet hearts can be added to many crafts and are especially cute on bobby pins for adorable hair accessories for girls.
What little girl doesn’t like pretty things in her hair.  I know our little girls sure do! And these crochet heart Bobby pins look adorable. ♥Continue Reading

Filed Under: Crafts, Holidays Tagged With: Crafts, Crochet, Valentine's Day

Craft Project Recap

By Lorraine

Get inspired by this Craft Project Recap. It includes projects for knitting, crochet, paper crafts, and DIY patio and yard projects.
Look through this Craft Project Recap for inspiration. The collection shown above includes knitting, crochet, paper projects and a bird feeder wreath.

Continue Reading

Filed Under: Crafts, More Crafts Tagged With: Crafts, Crochet, German Stars, gifts, Knitting

Crochet Wreath Tags

By Lorraine

Easy pattern for tiny crochet wreath tags work up in minutes. Sweet embellishments for holiday notes, gift tags or to decorate packages.Super quick ~ Super easy. You can make a stack of crochet wreath tags to decorate your packages in very little time. Make them in any color using tiny amounts of yarn.

Continue Reading

Filed Under: Crafts, Crochet Tagged With: Christmas, Crafts, Crochet, gifts

Silly Hats

By Lorraine

 
There are going to been some silly noggins Christmas morning at my house. If Ella is any indication, they are going to have a blast wearing these  hats!

Continue Reading

Filed Under: Crafts, Crochet Tagged With: Christmas, Crafts, Crochet, gifts, Grandchildren

Crochet Wash Cloths & Scrubbies

By Lorraine

Work up a lovely set of crocheted cotton washcloths and scrubbies to pamper yourself or as mush appreciated gifts. The handmade, spa quality cloths are durable and soft. Best of all, the patterns are quick and easy!Getting a gift for our oldest daughter is kind of hard. Gift cards are always welcomed but I like to include something personal. I worked up a set of crochet cotton wash cloths & scrubbies. I tied them up with a pretty plate and a bar of homemade soap to display in the bathroom. She love it!Continue Reading

Filed Under: Crafts, Crochet Tagged With: birthday, Christmas, Crafts, Crochet, Erin, gifts, Mother's Day

Crochet Boutique Bag

By Lorraine

 
Easy pattern for adorable crochet boutique bags. Great size as a clutch to hold cell phone & wallet or as a cosmetic bag. Cute for little girls too.
Big girls and little girls will love these cute crochet boutique bags. Just the right size for carrying a wallet and cell phone or used as a cosmetic bag. I am making them for the little girls on our list for all the treasures little girls need to take along with them.Continue Reading

Filed Under: Crafts, Crochet Tagged With: Christmas, Crafts, Crochet, Crocheting, gifts, Grandchildren

WIP

By Lorraine

Just a peek
at what I’m working on for the kids

 can you guess 🙂

This Mom-Mom has to get out of the kitchen and back to hooking real soon!
(When I’m finished I will give you the links where I got/purchased some really cute patterns)

Filed Under: Crochet, Family Tagged With: Christmas, Crafts, Grandchildren

Making German Stars

By Lorraine

Folded paper German stars remind many of childhood when they were made at Christmas time. Easy to follow, step-by-step video tutorial teaches you how.Betcha can’t make just one paper German Star. I only needed to make one star to include with a bridal shower gift and look what happened. I am making German stars again and if you ever wanted to make these pretty folded paper ornaments or just need a refresher, I have an easy to follow, step-by-step video tutorial that will have you on your way.Continue Reading

Filed Under: Crafts, Holidays, More Crafts Tagged With: Crafts, German Stars, tutorial

Fresh Flower Ice-Cream Sundae Craft Project

By Lorraine

My dear friend, Susan told me about something she made at a Flower Camp she attended with another friend. I was looking for a craft project to make with the kids for a garden themed birthday party I was planning for my granddaughter and her friends and cousins. This sweet fresh flower ice-cream sundae arrangement was a perfect craft project for little girls!


Cute, huh! And just the kind of project that turns out well for kids giving them a sense of accomplishment without being too difficult or boring. It isn’t a messy project and nothing that might stain or ruin their clothing or surroundings.

With a little prep work ahead of time, the project goes smoothly and does not take a long time to complete. I had the Oasis foam cut to size for the ice-cream shaped vases and the flowers trimmed to the right length, sitting in containers ready for “picking.”

Because the glass is clear and I didn’t want the oasis to show, I had pre-cut pieces of white plastic, cut from the bags you get when shopping. It was free and worked for what I needed. Older kids could add the plastic and then inset the foam themselves.  Littler one might benefit if this step is already done for them.

If you have pitchers of water ready, bigger kids can pour the water into their vase. If you think it easier for the littler ones, have the foam wet already.

 Let each child pick their flowers and insert each stem into the oasis foam. A little instruction about placement and they catch on quickly creating their sundaes. Ruffly carnations are ideal for the look of scoops of ice-cream in this project but they were not available this day. As you can see, the mums worked well.
 
 They were intent on their creations and enjoyed the process.
 Little red pom-poms could be used for the cherry on top, but we gathered bright red flower blossoms from my window boxes.
 Even the little ones did a great job.
sweet cousin, Brenna
Pretending to sip their Ice Cream Sundae’s, the girls later took them home as favors and were able to enjoy their pretty flower arrangements for many more days.

Here is the list of supplies you will want to gather to make
Fresh Flower Ice-Cream Sundaes

  • Ice-cream vase or something similar
  • Bend-y straws 
  • Floral foam for fresh flowers (pre-cut and pre-moistened if needed) Another option is to fill the vases with those little floral marbles/beads
  • Bunches of flowers like carnations or Mums ( pre-snipped the stems to about 4-inches long and had the foam in each glass.  I could have let the kids do this themselves but for the sake of time and the littler ones, I did it ahead.
  • Little red flowers (or tiny pom-pom’s) for the cherry on top (I snipped red impatients from my kitchen window box)
  • Squares of white plastic so the green floral foam doesn’t show through the clear glass (I cut white WM bags) I would double this next time.
  • water
  • Scissors and garden clippers

NOTE: We didn’t do this for the birthday party craft, but my friend said they lined the top edge of the cup/vase with green leaves before adding the carnations. I’m sure that would look pretty too.

Here is the birthday girl! Oh, Keri, with the dark brown eyes ~  Mom-Mom loves you!
♥


There are affiliate links in this post. That
means if you buy something from that link, I will earn a small commission, but
it won’t cost you anything additional.

If you are looking for inspiration and ideas for decorations and food for a sweet girl’s birthday party, check out Keri’s Garden Themed Birthday Party.

Filed Under: Crafts, More Crafts Tagged With: Birthday Family, Brenna, Crafts, Ella, flowers, Grandchildren, Keri, shaela

Keri Jill is 8 Garden Themed Birthday Party & Chocolate Piped Butterfly Toppers

By Lorraine

Preparing a sweet birthday party for little girls isn’t hard with a fun garden theme. Invite friends and cousins and watch their delight to see chocolate butterflies perched on frosted cupcakes, fruit skewers in rainbow colors and mini blueberry muffin bouquet treats. Ending with a fresh flower ice-cream sundae craft that doubles as a take-home party favor.

Continue Reading

Filed Under: Cakes & Cupcakes, Recipes, Sweet Treats Tagged With: Birthday Family, Brenna, Crafts, Cupcakes, Ella, Grandchildren, Jamie, Jill, Keri

Glassblowing Handmade Necklace Pendant

By Lorraine

My super talented, super sweet niece, Eva gave me this beautiful pendant that she made for my birthday.

Continue Reading

Filed Under: Family, Family & Friends Tagged With: Birthday Family, Crafts

Understated wreath

By Lorraine

I prefer less to more but still wanted something for over our headboard.

I liked the fabric flowers that I have been seeing all over blogland because of their simplicity.

Continue Reading

Filed Under: Crafts, More Crafts Tagged With: Crafts, flowers

Personalized Bookmarks

By Lorraine

I am always looking for gift ideas that are personal and useful.
These durable bookmarks fit the bill for many occasions.
They are made as a Microsoft Word document, printed and glued to a piece of card stock that was edged using a paper punch, laminated at Staples and finished with a ribbon.
The possibilities are endless… Photos, monograms, quotes,  and verses are just a few ideas that you can use to create a special keepsake.
Here is what I did, step-by-step:
1)  Open New document in Word.
2) Adjust the right margin to the desired with of your bookmark remembering that the decorative border will add width to the finished size.
3) Click Insert Picture to take you to your photo files.
4) Choose your picture/image.  Repeat if you want to add additional images as I did above. (I added the letter ‘L’ and then the scrolls above and below the letter)
5) Add your desired text. It might be a favorite verse, quote or commemorate a special occasion or date.
6) I like to enter a few times to create an empty area at the top of the bookmark for a ribbon.
7) Highlight the entire design that will be encompassed by a border.
8) On the Toolbar, click the border icon and select Borders & Shading from the drop down list.

9) Scroll down to the style border you like best.
10) You can also pick a color by clicking directly below the Style tab.  I like to use a color that matches the paper stock I will use to back the bookmark.

11) When everything looks just like you want, Print your bookmark.  Trim leaving a small border.
12)  Cut a piece of card stock in a complimentary color.  A straight edge is very nice and masculine.  I used a paper punch for the fancy scalloped edge for the girls.
13) Using a paper hole punch, punch a single or double hole for a ribbon. (I think a single ribbon is more masculine and the bow is more feminine.
14) At this point, the bookmarks can be finished simply by adding a ribbon.  If you would like to make them more durable, take them to Staples to have them laminated.  You can fit at least three bookmarks on a sheet and it costs $1.00 a sheet for lamination.  A bargain, I’d say!  After lamination, trim them apart being careful not to cut too close so the front and back piece remains sealed.
15) Finally, add a ribbon!
~*~
I used images graciously shared by Karen on her amazing site, The Graphics Fairy.
As you can see from my photo file, I save lots of images from this site!
Thank you, Karen!

Filed Under: Crafts, More Crafts Tagged With: Crafts, tutorial

Paper Flowers

By Lorraine

Inspired by a cute covered box by Janet @Today’s Fabulous Finds, I searched my craft cabinet for some snippets to make a container myself. I made some sweet little paper flowers that can be used to decorate anything you might imagine.  Here are a few projects I did.
 

Continue Reading

Filed Under: Crafts Tagged With: Crafts

Valentine’s Day Crochet Heart Garland

By Lorraine

Create a sweet Valentine's Day Heart Garland with an easy crochet pattern to decorate your home. Make in any color. Lovely to decorate a baby nursery too!No, I am not feeling sad this Valentine’s Day. Just thought I would change from the traditional red and pink colors to something a little different. A blue Valentine’s Day heart garland decorates a kitchen window.Continue Reading

Filed Under: Crafts, Crochet, Holidays Tagged With: Crafts, Crocheting

Newer Entries
Previous Entries
Hi! I'm Lorraine. Welcome to Grateful Prayer Thankful Heart. A place to find food for your tummy, projects for your hands, and encouragement for your heart.

Theme by 17th Avenue · Powered by WordPress & Genesis