• Home
  • About
  • !!! SUBSCRIBE TO OUR NEWSLETTER – FREE GIFT !!!
  • Blog
  • Contact

Lorraine D. Hebler

  • Recipes
    • Appetizers
    • Beverages
    • Breads – Quick & Yeast
    • Breakfast & Brunch
    • Canning & Freezing
    • Entertaining
    • Holidays
    • Main Dishes
      • Beef
      • Chicken
      • Fish & Seafood
      • Pork
    • Pasta
    • Salads & Dressings
    • Soups & Stews
    • Sweet Treats
      • Biscotti
      • Cakes & Cupcakes
      • Cookies & Bars
      • Desserts
      • Muffins
      • Pies & Cobblers
      • Scones
    • Vegetables & Sides
    • Visit My Galleries
  • Crafts
    • Crochet
    • Knitting
    • More Crafts
    • Visit My Galleries
  • Faith
    • Faith Statement
    • Faith Printables
  • Home and Garden
    • Birds & Butterflies
    • Flowers Plants & Herbs
    • Home Decorating & DIY
  • Family
    • Family & Friends
    • Grandchildren
  • Resourses
    • Gift Guides
    • Photography Equipment
    • Food Styling Photo Props
    • Sock Hop Party Shopping Guide
  • Travel
  • Vintage

Giant Bubbles Fun Summer Activity with Grandchildren

By Lorraine

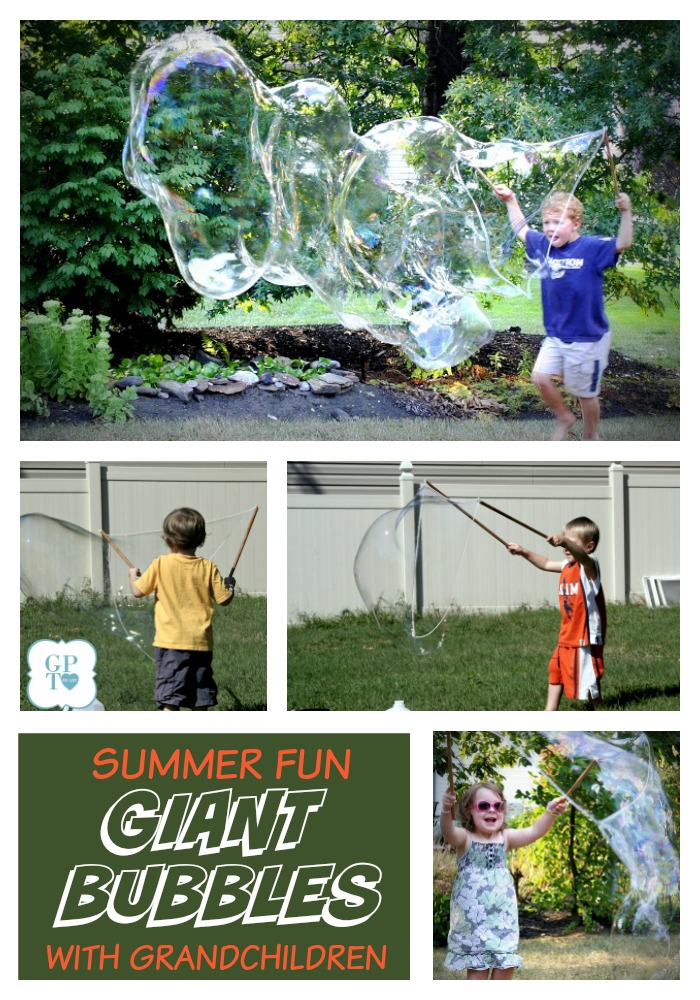
Time with grandchildren is some of the very best moments of all. They are even more precious when those grandchildren live a distance away. As our daughter Jill and husband, Brad’s visit was nearing an end, we had one last activity we wanted to do with the kids before they head back to up-state New York. Making bubbles. GIANT bubbles. Bubbles they could almost climb into. And it was so much fun! If you are looking for a great activity to do with kids, grand kids, your own kids, neighborhood kids, youth group kids and even big kids, make a batch of bubble solution together and see who can make the biggest one!
Ryan caught on quickly and was making some pretty impressive bubbles in no time.
Shaela needed a little help at first from PopPop
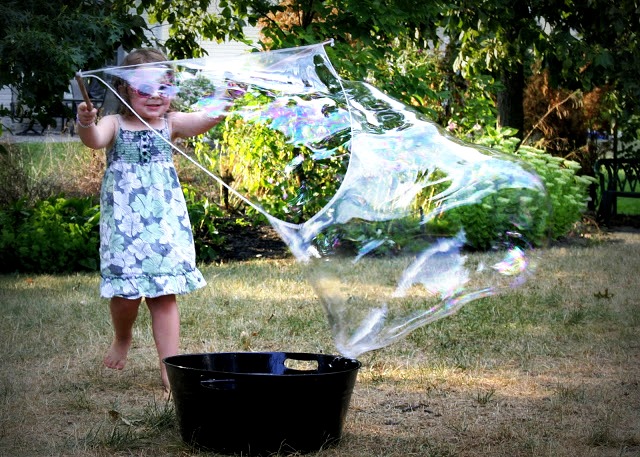
 She soon caught on and was making some amazing bubbles all by herself.
 And, pretty thrilled about it.
How To Make GIANT Bubbles
For convenience, supplies can be purchased from Amazon through links below.

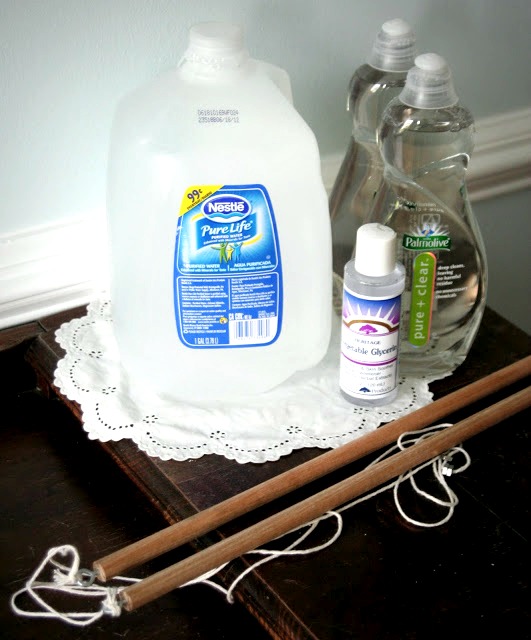
Supplies to make the bubble solution:
1 Gallon Purified Water 
5 cups Unscented and uncolored Dish-washing Soap
1/2 cup Glycerin

Directions:
Pour the water into a bucket. I used a clean plastic container. 
Pour the dish-washing soap into the water. Then mix it gently with a wooden spoon. 
Pour the glycerin in. Mix gently again. You don’t want ANY bubbles. 

NOTE: Humidity has a lot to do with good bubble making so you might want to add a little more or less water to get a good consistency. Since it is so humid here in August, a little thinner was better.
Supplies for making the wand
2 Wooden or Poly Dowels, we cut them 16 to 24-inch 
2 Eye screws
3 to 4   1/4 inch nuts  (to weigh the line down)
Cotton String (we used kitchen twine) 

Directions: The photos will be a help in making the wand

  • Drill a small hole in the end of each dowel. 
  • Screw the Eye Hooks into the holes you just drilled until they are secure. 
  • Cut a 70-inch piece of cotton string. Cut another piece of string that measures 30-inches. You can make the string as long or short as you like just as long as one string is longer than the other. 
  • Put the 3 to 4 nuts through the 70 inch string. 
  • Put the ends of both pieces of string through one of the eye hooks and tie a knot. Do the same thing on the other eye hook. Now you should have a long string and a shorter one that runs from one dowel to the other.

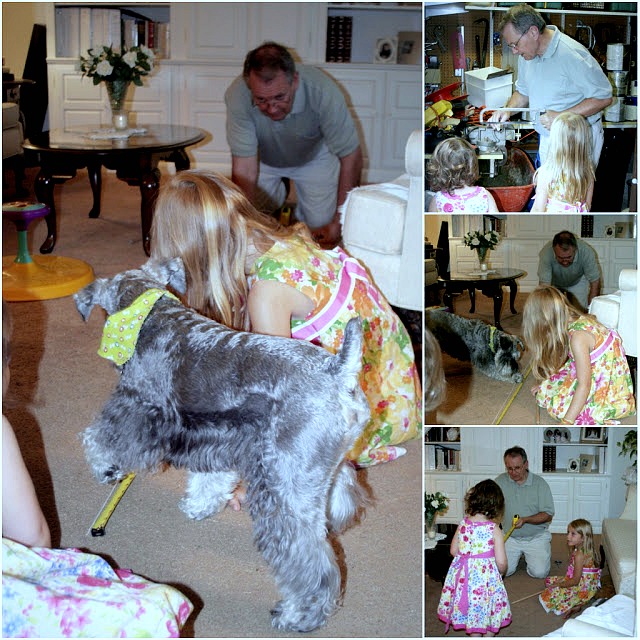
    Even our pup lent a paw in the process of measuring the string and making the wand!

    Now for the Fun part: 
    Making Giant Bubbles 

    • Head outside with your bucket of solution
    • Put the end of the dowels in the bucket so the string is submerged in the bubble solution. 
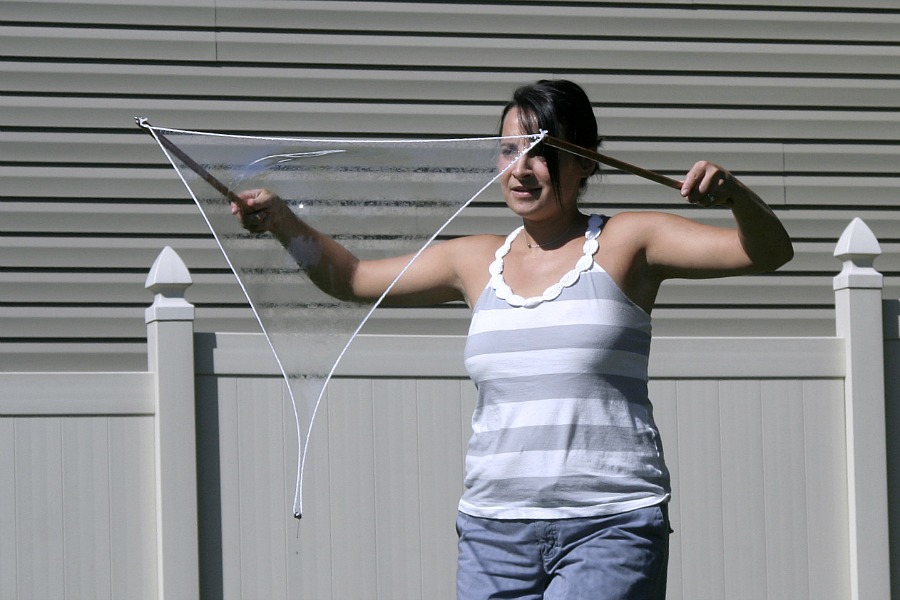
    • Bring the ends of the dowels up from the bubble solution, together until about chest high. 
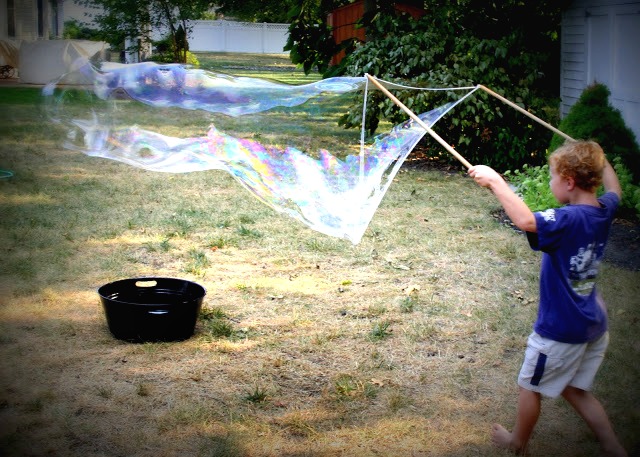
    • Then separate the dowels by pulling them outward so the string makes a triangle that points down. The washers will weigh the center of the bottom string down. see photo below.
    • Step backward quickly so that the air goes through the bubble solution between the dowels and makes a bubble.  

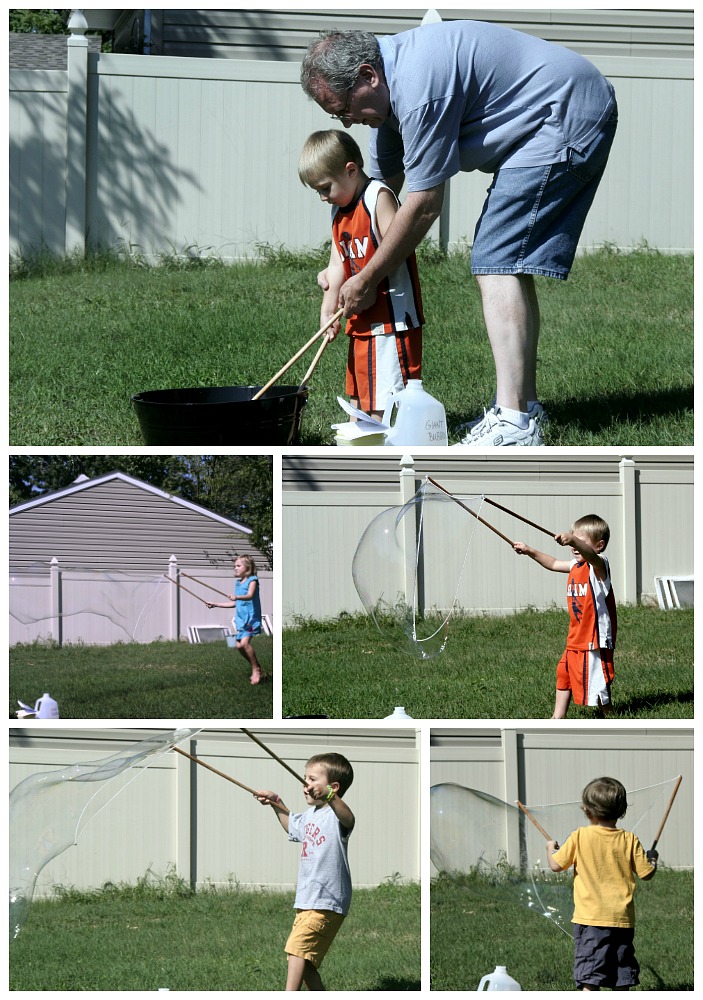
    We had to give it a few tries before getting the hang of making the bubbles but as you can see, even little kids were quickly able to master it.
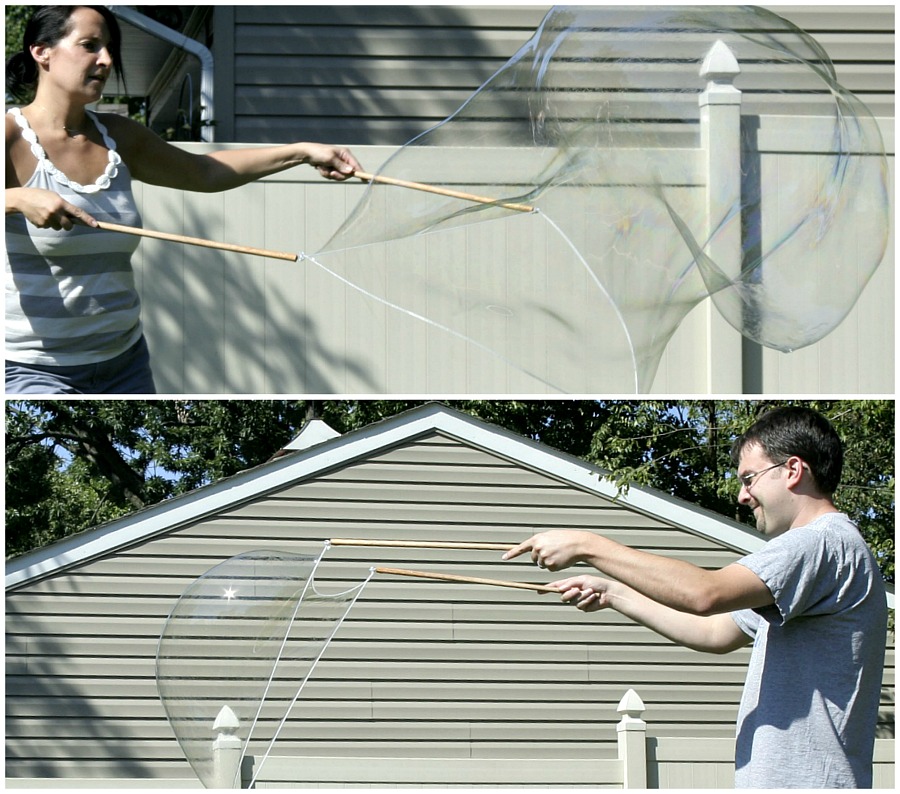
    And the big kids couldn’t resist a try πŸ™‚


    There are affiliate links in this post. That
    means if you buy something from that link, I will earn a small commission, but
    it won’t cost you anything additional.


    Filed Under: Crafts, Uncategorized Tagged With: Brenna, Crafts, DIY, Grandchildren, Ryan, shaela, tutorial

    DIY Wooden Tic-Tac-Toe Game Gift for Boy

    By Lorraine

    I made this Tic-Tac-Toe board game for our little guys, Ryan and Noah but it would work for any age or as a coffee table item. Here is how I made them:

    I began with a sanded pine board that was cut to an 8.5-inch square. You can paint this to add color. I like the look of the natural wood to contrast with the paper so I left mine plain.

    I purchased a piece of scrapbook paper with a relatively non-busy background and cut it to an 8-inch square.

    I had a bag of 1/4-inch wooden rectangles that I cut in half so each measures 1.5-inches. You can purchase little wooden squares or circles that are just the right size. You will need a total of 10 for each game. Again, you can paint these or leave natural.

    For the Tic-Tac-Toe pieces I used images with a theme I thought would interest our little guys. I scaled them on a photo editor and printed them to just shy of 1.5-inches. Then I had them copied at Staples. For an easier version, use stickers or images from cute scrapbook paper. Then you can skip the trip to Staples and move right along without interruption πŸ™‚

    You will need two different images for each game.

    Using Mod Podge, I applied the 8-inch piece of paper to the 8.5-inch board.

    I used electrical tape to make the grid. I cut 4 strips 1/4-inch wide x 7 3/4-inch long. It would had been much easier to just cut strips of paper and glue them on but somehow I manage to find a more difficult way to do things πŸ™‚

    Then I applied each image to the playing piece.

    I glued four little wooden thingies (see pic) on the bottom four corners for feet.

    I finished with a couple of coats of water-based varnish for durability.

    I tossed the playing pieces in a small draw-string bag and there you have it! Now, who thinks they can beat Ryan at his favorite game?


    Filed Under: Crafts, More Crafts Tagged With: Crafts, gifts, Noah, Ryan, tutorial

    New York Babies Heading Home

    By Lorraine

    Ryan was a little disappointed I didn’t have any new Boy hats that he could model, but I promised I’d have some when they visit at Christmas!

    Brenna could have posed all day…
    Shae was a tad mischievous πŸ˜‰
    β™₯ love you guys! See you in December β™₯

    Filed Under: Family, Grandchildren Tagged With: Brenna, Crafts, Crochet, Crocheting, Grandchildren, Ryan, shaela

    Newer Entries
    Hi! I'm Lorraine. Welcome to Grateful Prayer Thankful Heart. A place to find food for your tummy, projects for your hands, and encouragement for your heart.

    Theme by 17th Avenue · Powered by WordPress & Genesis