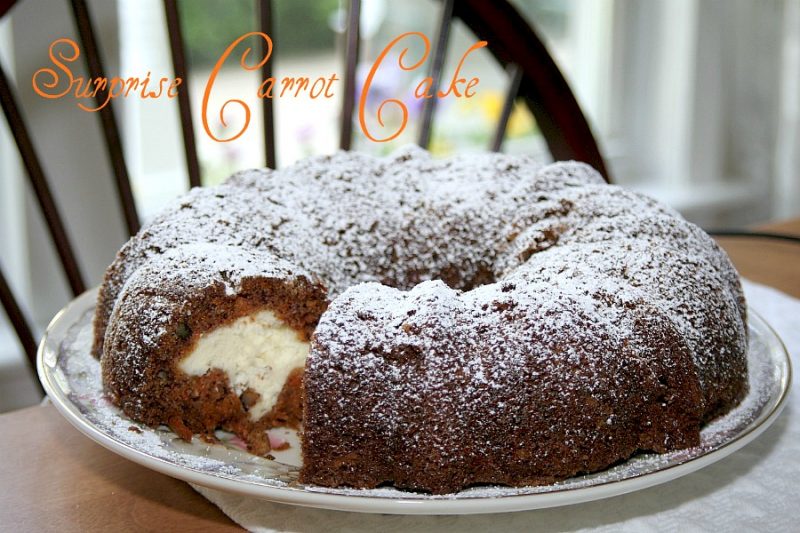
And… they look special!
 Cream Puffs
1 cup water
1/2 cup butter (1 stick)
1 tsp sugar
1 cup flour, sifted
4 large eggs
Glaze
6 oz. semisweet chocolate pieces
1 Tbs. vegetable shortening
Custard:
3/4 cup flour
1 cup sugar
3 cups milk
4 large eggs
1 Tbs. butter
1 tsp. vanilla
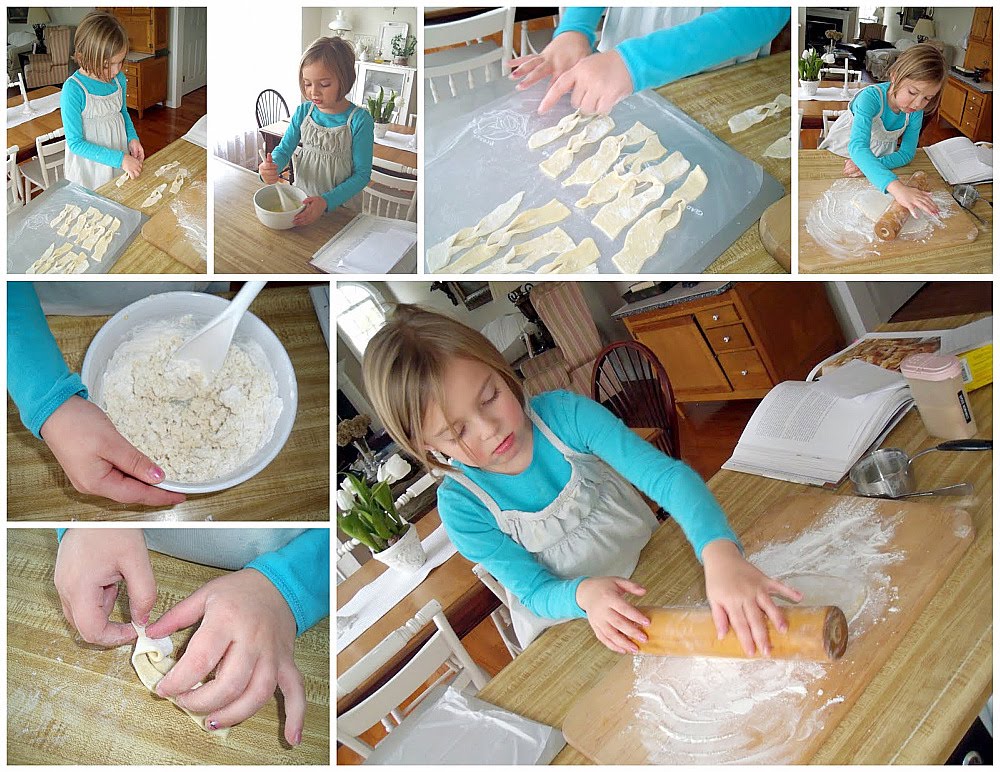
Cream Puffs:
Preheat oven to 400 degrees. Bring water, butter and sugar to a full rolling boil in a large saucepan. Add flour all at once. Stir vigorously with wooden spoon about 1 minute or until mixture forms a smooth ball that leaves sides of pan. Remove from heat; cool slightly. Add 4 eggs, one at a time, beating after each addition, until paste is shinny and smooth. Drop by rounded tablespoonfuls, 3-inches apart onto ungreased cookie sheet. Bake for 40 minutes until golden. Cool on wire rack.
Custard:
Combine flour and sugar in saucepan; stir in milk. Bring to boiling, stirring constantly over low heat until bubbly. Cook 3-4 minutes. Remove from heat. Beat eggs lightly in bowl; beat in 1 cup hot milk mixture and return eggs to saucepan. Cook 1-2 minutes more (do not boil). Add butter and vanilla; pour into bowl and cover with plastic wrap touching top for 2 hours.
Glaze:
Melt chocolate and shortening together over low heat (or microwave).
To fill:
Cut tops off cream puffs; fill with custard. Top with melted chocolate or sprinkle with confectioners sugar.
My sweet friend, Marie @Spun By ME is having a Glittery Giveaway!
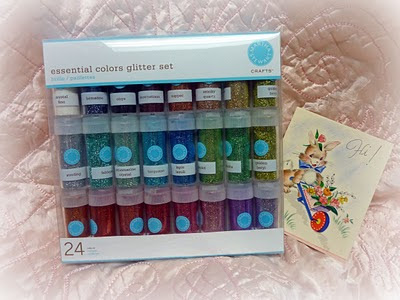 Stop by her place to enter!